

Introduction to Fix a Bike Chain
Are you a passionate motorbike enthusiast, ready to hit the open road and experience the thrill of riding? We know nothing quite like the feeling of freedom of a motorcycle ride. But what happens when you’re out on a ride, and suddenly, your bike chain throws a tantrum? Fear not, fellow riders! This comprehensive guide will take you through the steps to fix a bike chain like a pro. Whether you’re a seasoned rider or just starting your two-wheeled journey, this knowledge is essential for every motorcycle enthusiast. Let’s dive in!
Understanding Your Bike Chain
Before we get our hands dirty, it’s crucial to understand how your bike chain works. Knowledge is power; this understanding will make the repair process much smoother.
How Does a Bike Chain Work?
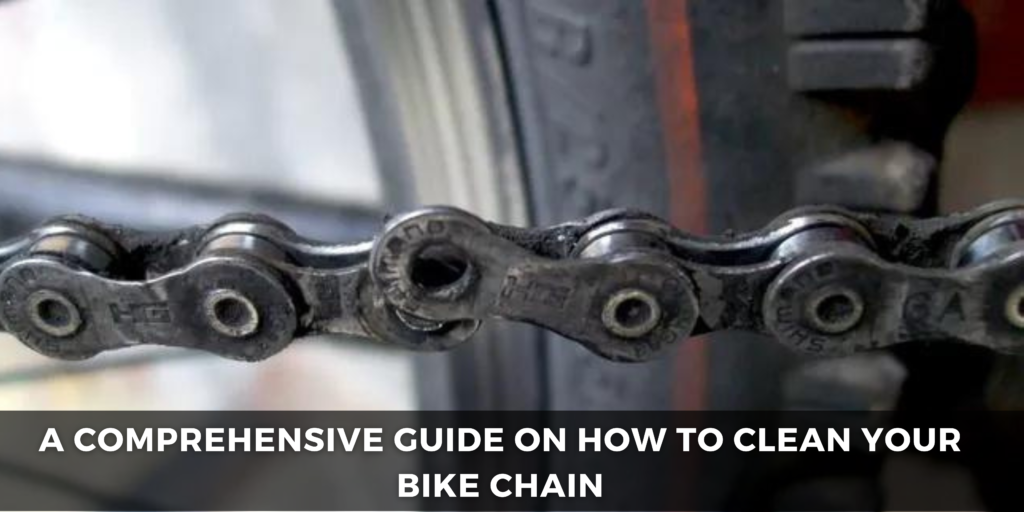
To fix a bike chain, you first need to understand its components. Your bike chain comprises inner and outer plates, pins, and rollers. These components interact with the chainrings and cassette to propel your motorcycle forward.
Common Chain Problems
Before moving on to the repair process, let’s identify some common chain problems you might encounter on the road. These issues include loose chains, jammed chains, and broken links. Recognizing these issues is the first step to addressing them effectively.
Essential Tools and Precautions
Tools You Need
You’ll need a few tools in your arsenal to fix a bike chain. These include a chain breaker, spare master links, pliers, a chain cleaning brush, and chain lubricant. Make sure to carry these with you on your rides for emergencies.
Safety First
Before diving into any repair work, ensure your motorcycle is safely parked, and the engine is off. Safety gear, such as gloves, eye protection, and a sturdy Motorcycle Jacket, is necessary. You want to avoid any mishaps while working on your bike.
Fixing a Bike Chain
Now, let’s roll up our sleeves and get to work. Here’s a step-by-step guide on how to fix a bike chain:
Determine the Issue
Identify the problem. Is it a loose chain, a jammed chain, or a broken link? Knowing the issue will guide your repair process.
Remove the Chain
You’ll need to remove the chain from your bike for most repairs. A chain breaker is essential for this task. Gently push out the pin and remove the damaged part.
Clean the Chain
Use a chain cleaning brush and some chain degreaser to clean the chain thoroughly. A clean chain functions better and lasts longer.
Repair the Chain
If you have a loose or jammed chain, you can often fix it by adjusting the tension and reinserting it. For a broken link, use a spare master link to reconnect the chain.
Lubricate the Chain
After the repair, apply a high-quality chain lubricant to ensure smooth operation and prevent future issues.
Preventive Maintenance
To keep your bike chain in optimal condition, regular maintenance is key. Here’s what you can do:
Regular Inspections
Periodically inspect your chain for wear, tight spots, or loose links.
Lubrication
Keep your chain well-lubricated to reduce friction and extend its lifespan.
Tension Adjustment
Maintain the right tension in your chain to avoid issues on the road.
Conclusion
As a motorcycle enthusiast, knowing how to fix a bike chain is a valuable skill that can save you from being stranded on the side of the road. With the right tools and know-how, you can keep your motorcycle chain in top shape, ensuring a smooth and enjoyable riding experience.