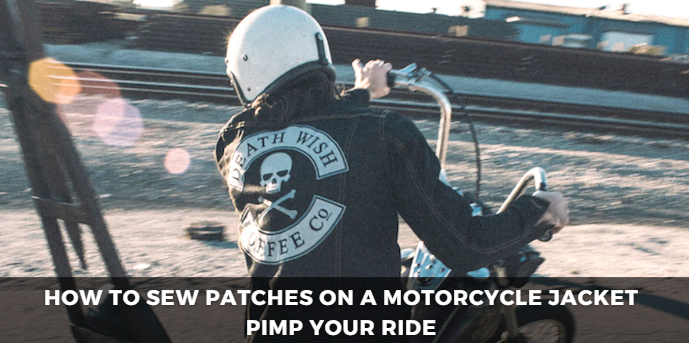
Hey there, fellow leather lovers! So, you’ve got yourself a rad Motorcycle Jacket, and you’re itching to add some personality to it with patches, huh? Well, you’ve come to the right place! In this guide, I’m going to walk you through everything you need to know about how to sew patches on a motorcycle jacket like a pro. Let’s dive in!
Choosing the Right Patches
Alright, first things first—let’s talk how to sew patches on a motorcycle jacket. Whether you’re into badass skulls, vintage band logos, or cute little kittens, there’s a patch out there for everyone. When choosing patches for your jacket, think about what vibe you’re going for and pick ones that speak to your soul. Oh, and don’t forget to make sure they’re good quality—nobody wants a patch that falls apart after one ride!
Preparation to Sew Patches on a Motorcycle Jacket
Now that you’ve got your patches picked out, it’s time to get down to business. Gather up all your supplies: patches, thread, needles, and scissors. Oh, and don’t forget a cup of coffee or your beverage of choice—trust me, sewing patches is way more fun with a little caffeine boost!
Sewing Techniques
Alright, let’s get stitching! If you’re new to sewing, don’t worry—it’s easier than it looks. Start by threading your needle and knotting the thread (pro tip: run the thread through some beeswax for extra strength). Once your needle is armed and ready, place your patch on the jacket and secure it in place with a few pins. Now comes the fun part—start sewing! You can use a simple running stitch or whipstitch to attach the patch to the jacket, making sure to go all the way around the edges for a secure fit. And hey, if you mess up a stitch or two, no biggie—keep going and embrace the imperfections. That’s what gives your jacket character!
Finishing Touches
Once all your patches are sewn on, it’s time to add those finishing touches. Trim any excess thread and remove those pesky pins. Then, grab a warm iron and press down on the patched area to make sure everything is nice and flat. This step not only helps the patches adhere better but also gives your jacket that polished look. And hey, if you’re feeling fancy, why not add some extra stitching or embellishments to really make those patches pop?
Care and Maintenance
Alright, your jacket is looking fly with its new patches, but the work isn’t done yet. To keep your patches looking fresh for the long haul, make sure to give your jacket some TLC now and then. That means washing it according to the care instructions and storing it in a cool, dry place away from direct sunlight. And hey, don’t forget to periodically check those patches and give them a little touch-up if needed. A little maintenance goes a long way in keeping your jacket looking badass!
Inspiration and Ideas
Now that you’ve mastered the art of patching, why not get inspired to take your jacket to the next level? Scroll through social media or hit up your local biker hangout for some patching into. You never know what cool ideas you’ll come across! And hey, don’t be afraid to get creative and mix things up. After all, your jacket is a reflection of you, so let your personality shine!
And there you have it, folks—your ultimate guide to sew patches on a motorcycle jacket. Whether you’re a seasoned stitcher or a total newbie, I hope this guide has inspired you to get creative and make your jacket truly your own. So grab those patches, fire up that sewing machine, and get ready to turn heads on the open road. Happy patching, my friends!


