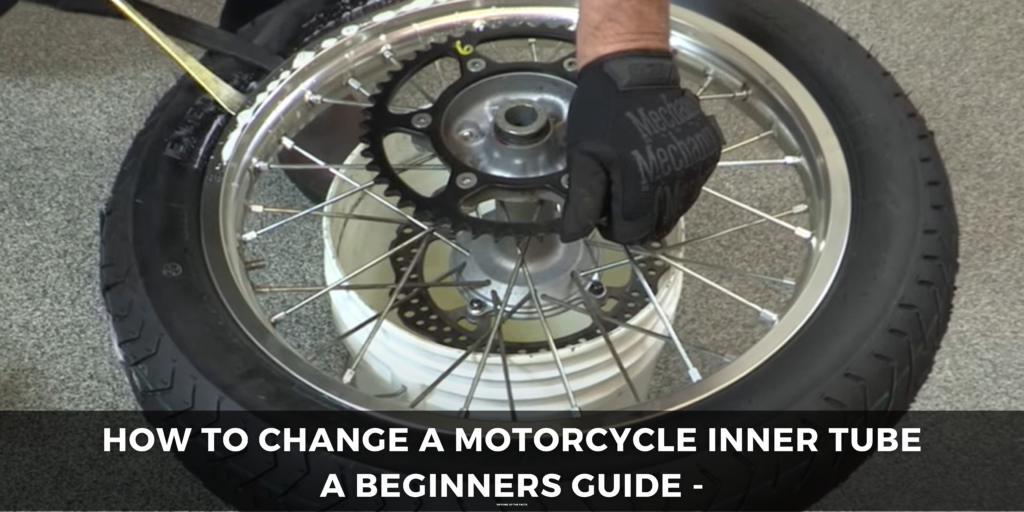
Introduction to change a motorcycle inner tube
To change a motorcycle inner tube, especially if you’re new to motorcycle maintenance. However, it’s a skill that every rider should have in their arsenal, as a flat tire can happen at the most inconvenient times. This comprehensive guide will walk you through the step-by-step process of changing a motorcycle’s inner tube. So, whether you’re a seasoned rider or a beginner, you’ll be well-prepared to tackle this common roadside issue. Plus, we’ll discuss why having a reliable motorcycle jacket is just as important as having the tools for the job.
Why is Changing an Inner Tube Important?
Before diving into the step-by-step process, let’s briefly discuss why change a motorcycle inner tube is essential for every rider. An internal tube change can be necessary due to punctures, blowouts, or worn-out lines. Ignoring a damaged pipe can result in unsafe riding conditions and worsen the damage to your tire. Learning to change an inner tube can save you time and money and, most importantly, keep you safe on the road.
The Importance of a Motorcycle Jacket
While we’re on the topic of safety, let’s take a moment to emphasize the importance of wearing a high-quality motorcycle jacket. A motorcycle jacket isn’t just a fashion statement; it’s a critical protective gear that can save your life in a crash. Look for a jacket with armor inserts, reflective elements, and sturdy construction to provide maximum protection while you ride.
Gather the Necessary Tools and Materials
Before you begin the process to change a motorcycle inner tube, make sure you have all the required tools and materials at your disposal:
- New inner tube
- Tire levers
- Pliers
- Wrench or socket set
- Valve stem tool
- Soap and water solution
- Air compressor or hand pump
Remove the Wheel
You’ll need to remove the wheel from the motorcycle to access the inner tube. Follow these steps:
- Elevate the bike using a center stand or suitable lifting equipment.
- Loosen and remove the axle nut and other fasteners holding the wheel.
- Carefully slide the wheel out from the fork.
Deflate and Remove the Tire
To remove the tire and access the inner tube, follow these steps:
- Deflate the tire entirely by removing the valve core using a valve stem tool.
- Use tire levers to pry the tire away from the rim gently.
- Work your way around the tire, gradually lifting it off the edge.
- Once the tire is partially removed, you can access the inner tube.
Remove the Inner Tube
With the tire partially removed, follow these steps to take out the inner tube:
- Carefully pull out the inner tube, not damaging the valve stem.
- If the line is damaged, take note of the tire size and valve stem type to purchase the appropriate replacement.
Install the New Inner Tube
Installing the new inner tube involves these steps:
- Inflate the new inner tube slightly to give it shape, making it fit inside the tire easier.
- Carefully insert the new inner tube into the tire, ensuring it’s evenly distributed and not twisted.
- Work the tire back onto the rim, careful not to pinch the line.
Reinstall the Wheel
With the inner tube in place, follow these steps to reattach the wheel:
- Slide the wheel back into the fork, aligning it correctly.
- Reattach any fasteners you removed earlier.
- Tighten the axle nut to the manufacturer’s specifications.
Inflate the Tire
Using an air compressor or hand pump, inflate the tire to the recommended pressure specified in your motorcycle’s owner’s manual.
Conclusion to Change a Motorcycle Inner Tube
To change a motorcycle inner tube with the right tools and a clear understanding of the process, it becomes manageable for riders of all experience levels. By mastering this skill, you’ll be better prepared to handle unexpected flat tires and keep your rides safe and enjoyable. Always follow your motorcycle’s manufacturer recommendations and practice safety when performing maintenance tasks. And remember to wear a reliable motorcycle jacket for that extra protection while you hit the open road. Happy riding!

